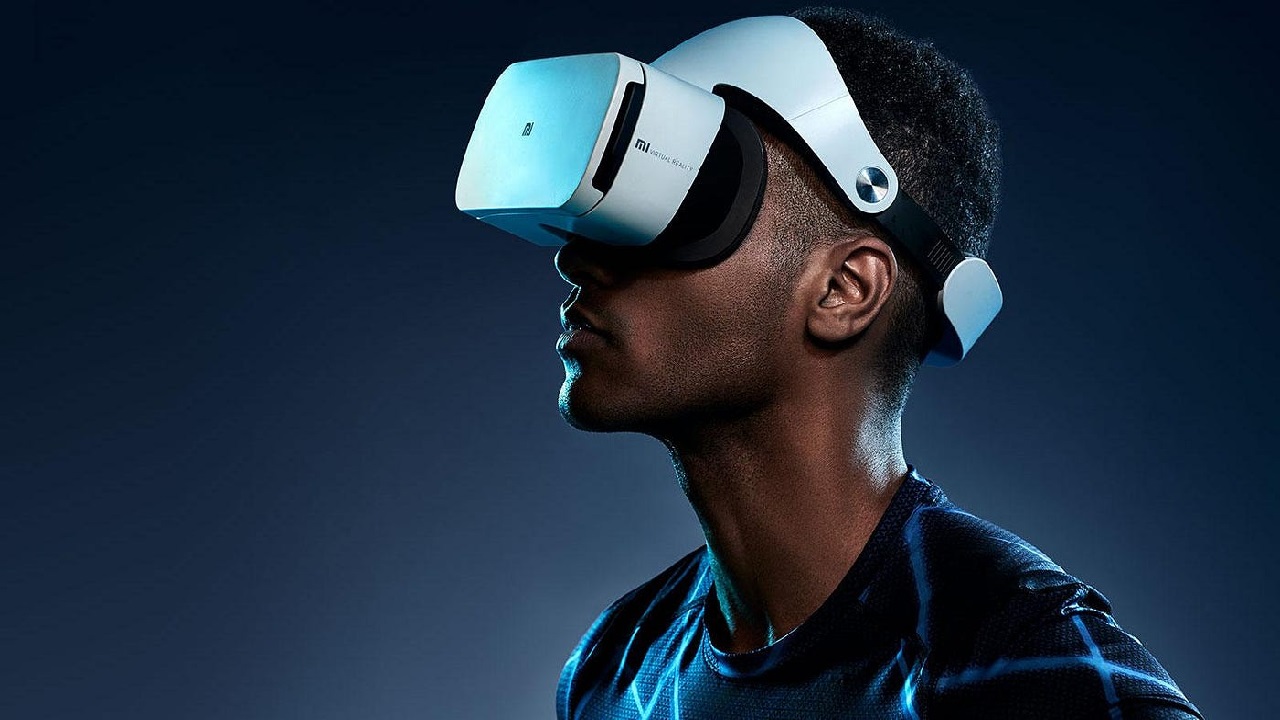
Virtual reality (VR) gaming is no longer a futuristic concept—it’s here, and it’s booming. The immersive experience that VR offers can transport players into entirely new worlds, from realistic sports arenas to fantasy landscapes. But to truly enjoy VR gaming, you need a powerful, VR-ready gaming PC. Building one from scratch may seem daunting, especially if you’re new to PC building, but with the right guidance, it can be a fun and rewarding project. In this guide, we’ll walk you through everything you need to know to build your VR-ready gaming PC in 2025.
Why You Need a VR-Ready PC
Unlike standard gaming, VR requires your PC to handle higher frame rates, reduced latency, and more demanding graphics. A VR-ready PC ensures smooth performance, reduces motion sickness, and delivers an immersive experience. Key factors to consider are:
- High frame rates: VR requires a minimum of 90 FPS for a smooth experience.
- Low latency: Lag can break immersion and cause discomfort.
- Powerful GPU: VR rendering is graphics-intensive.
- Ample RAM and storage: VR games are often large and require fast memory.
Step 1: Define Your Budget and Goals
Before buying components, define your budget. VR-ready PCs can range from mid-tier setups ($1000–$1500) to high-end rigs exceeding $3000. Your budget will influence:
- The graphics card (GPU) you choose
- CPU performance
- Storage type and size
- Extra features like liquid cooling or RGB lighting
Knowing your budget upfront will help you balance performance and cost effectively.
Step 2: Choosing the Right Components
Building a VR-ready gaming PC involves selecting the best components that work together seamlessly. Here’s a breakdown of essential parts:
- CPU (Processor)
Your CPU handles game logic, physics, and VR calculations. For VR gaming:
- Recommended: Intel Core i7 13th Gen or AMD Ryzen 7 7800X
- Budget Option: Intel Core i5 13400F or Ryzen 5 7600
Choose a CPU that pairs well with your GPU to avoid bottlenecks.
- GPU (Graphics Card)
The GPU is the heart of VR gaming. Look for cards optimized for high-resolution VR headsets:
- Recommended: NVIDIA RTX 4080 or AMD RX 7900 XT
- Budget Option: NVIDIA RTX 4070 or AMD RX 7800
VR demands high FPS; a powerful GPU ensures smooth visuals.
- RAM
VR gaming can quickly consume memory:
- Minimum: 16GB DDR4
- Recommended: 32GB DDR5
Faster RAM helps with loading times and overall system responsiveness.
- Storage
Storage affects how quickly your games load:
- Recommended: 1TB NVMe SSD (primary) + optional 2TB HDD (secondary)
- SSDs improve boot times and reduce VR game loading latency.
- Motherboard
Your motherboard connects all components. Make sure it’s compatible with your CPU and has enough slots for future upgrades:
- Features to look for: PCIe 4.0/5.0 support, USB-C, multiple RAM slots, M.2 slots for SSDs
- Power Supply Unit (PSU)
A reliable PSU ensures stability under heavy VR loads:
- Recommended: 750W–850W 80+ Gold certified
- Ensure enough wattage to support GPU, CPU, and peripherals.
- Case and Cooling
VR gaming PCs generate heat. Choose a case with good airflow:
- Mid-tower or full-tower cases
- At least two intake and two exhaust fans
- Optional liquid cooling for high-end builds
- VR Headset Compatibility
Ensure your PC supports the VR headset you plan to use. Popular VR headsets include:
- Meta Quest 3 (via PC link)
- Valve Index
- HTC Vive Pro 2
Check the manufacturer’s minimum requirements for a smooth VR experience.
Step 3: Assemble Your VR-Ready PC
Building your PC can be intimidating, but breaking it down step-by-step makes it manageable. Here’s the process:
- Prepare your workspace: A clean, static-free area is essential.
- Install the CPU: Carefully place it into the motherboard socket.
- Attach the CPU cooler: Either air or liquid cooling.
- Insert RAM modules: Match them to recommended motherboard slots.
- Install motherboard into the case: Secure it with screws.
- Install GPU: Slot it into the PCIe x16 slot.
- Connect storage: Attach NVMe SSDs or SATA drives.
- Connect PSU cables: Power the motherboard, GPU, and storage.
- Cable management: Organize cables for airflow and aesthetics.
- Double-check connections: Ensure everything is secure before powering on.
Step 4: Install Operating System and Drivers

Once assembled:
- Install Windows 11 (or your preferred OS).
- Update motherboard BIOS if necessary.
- Install GPU drivers for maximum performance.
- Install VR headset software (SteamVR, Meta PC app, etc.).
- Test your system using benchmarks to confirm VR readiness.
Step 5: Optimize for VR Gaming
To get the most out of your VR experience:
- Enable DirectX 12 for better graphics performance.
- Use VR performance settings in games to balance visuals and frame rates.
- Keep your GPU drivers and OS updated.
- Overclock CPU/GPU cautiously for extra performance if comfortable.
Step 6: Recommended VR Games to Test Your Rig
Once your VR-ready gaming PC is set up, try these immersive titles:
- Half-Life: Alyx – A VR masterpiece with high detail.
- Beat Saber – Fun and physically engaging.
- The Walking Dead: Saints & Sinners – Excellent graphics and story.
- No Man’s Sky VR – Expansive universe exploration.
- Elite Dangerous VR – Space simulation in VR.
Testing multiple games ensures your system is performing as expected.
Step 7: Troubleshooting Common VR PC Issues
Even with a well-built VR PC, you might encounter issues:
- Low FPS: Lower graphics settings or upgrade GPU.
- Headset tracking problems: Check USB connections and sensor placement.
- Overheating: Improve airflow, add fans, or adjust cooling settings.
- Game crashes: Update drivers and verify game files.
Step 8: Future-Proofing Your VR PC
VR technology evolves quickly. To extend your PC’s lifespan:
- Choose components that allow upgrades (extra RAM slots, GPU compatibility).
- Invest in a high-wattage PSU for future GPU upgrades.
- Consider liquid cooling for more intensive future VR titles.
Conclusion
Building a VR-ready gaming PC from scratch is an exciting project that can deliver an incredible gaming experience. By carefully selecting components, assembling them step-by-step, and optimizing your system, you can enjoy the full potential of VR gaming in 2025. Whether you’re diving into realistic simulations or fantasy worlds, a VR-ready PC ensures immersive, lag-free adventures.
Remember, the best VR PC isn’t necessarily the most expensive—it’s the one balanced for your budget, performance needs, and future upgrades. Start building, and step into a world where gaming becomes reality.

